
First attempt
I was quite apprehensive starting off with creating the character model, as I had never created a high-poly character model before – only low-poly (and I wasn’t too happy with the result of that). I started by finding some possible base meshes to build from for my character. I found two that I liked the look of, both from cg trader. Both are stylised low poly meshes.
https://www.cgtrader.com/free-3d-models/character/man/base-mesh-7d9b13f3-6e24-42b2-9065-f3e6f0cb9f98
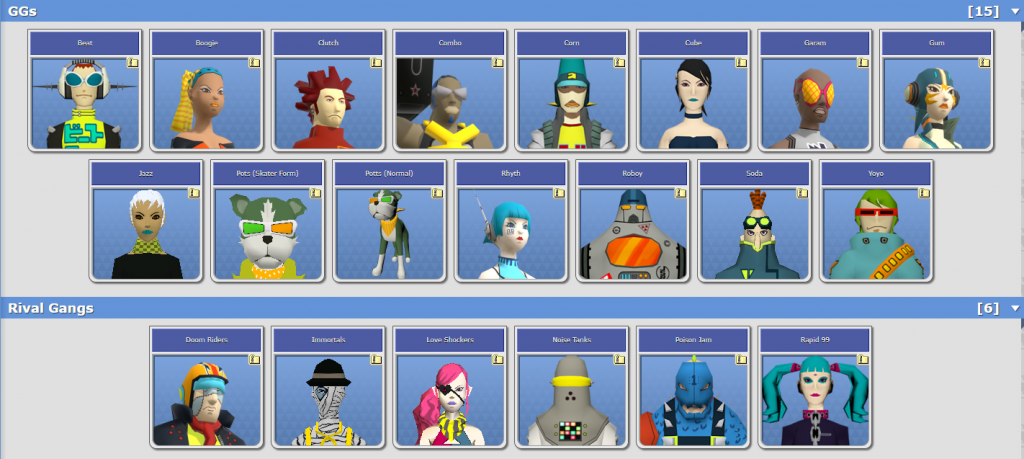
I also found a website that had all of the 3D models from the original Jet Set Radio game available to download. This was a really nice find and it meant I was able to have a good look at how the models were structured and use that for reference and inspiration – despite them being very low-poly.
https://www.models-resource.com/xbox/jsrfjetsetradiofuture/ ↓
I started the modelling process by importing one of the base meshes into blender, but I realised that I wouldn’t be able to do much with it as it was all in pieces and I would have to do a lot to it before I would be able to start sculpting. I went onto using the second base mesh that I had found and started modelling/sculpting it to fit my character.
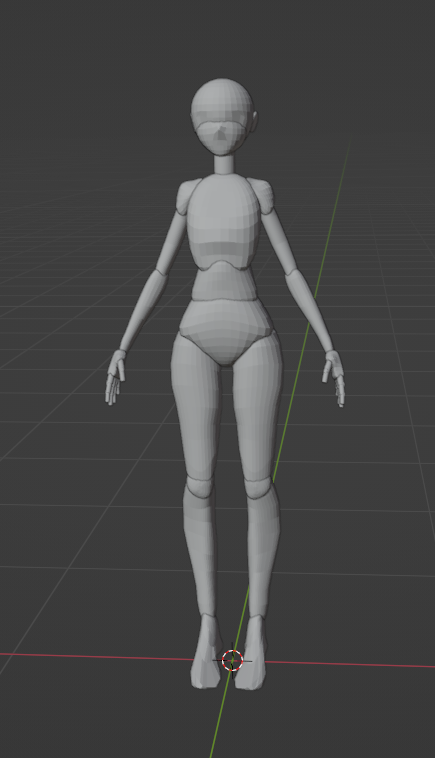
I got a fairway through this process and also started sculpting the face of the model. However, I was having problems with the mesh as it didn’t come with formed fingers, among other issues and it was taking too much time to try and create the fingers myself as I am not too confident in blender. I realised it was not the time to try and teach myself blender (as I had only previously used it for adding textures, lighting and rendering) and I moved the model to maya, where I was still having problems – so I gave up on this model.
Successful attempt
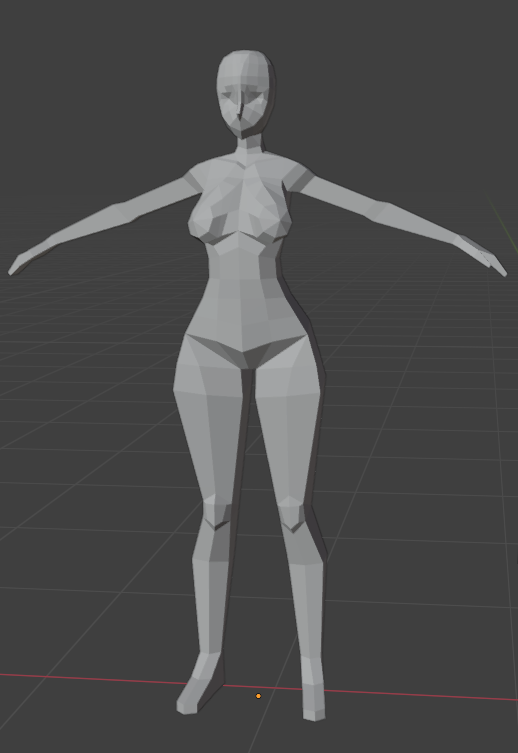
I found that blender had semi-recently released some of their own human base meshes, so I decided to use that, and they are already high-poly so it meant a bit less work for me. And that was great news as I am already not too confident working in 3D.
https://www.blender.org/download/demo-files/
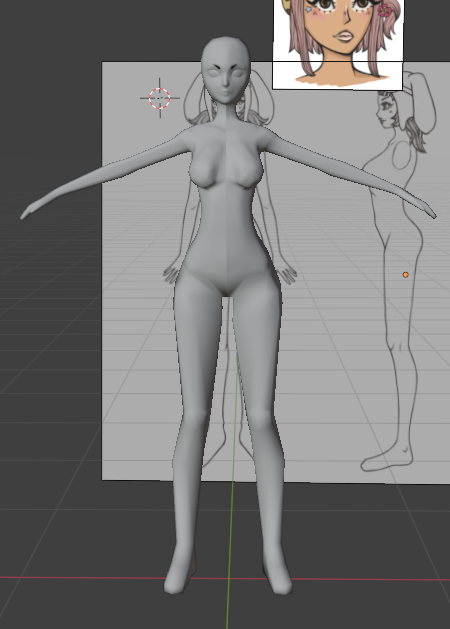
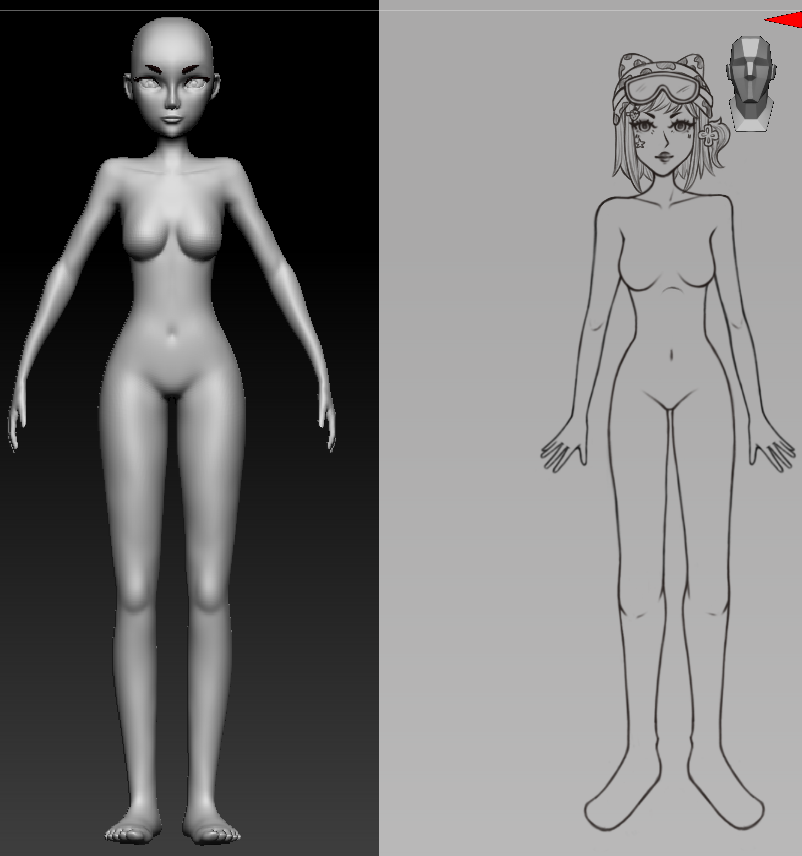
There were two different female base meshes in the pack and I chose to use the more cartoony one despite it looking a little strange to me – as I knew that I wanted to make her look quite stylised. I edited the mesh in maya using my orthographic drawing as reference, changing the shape to fit my character better before I took it into Zbrush.

Sculpting in Zbrush
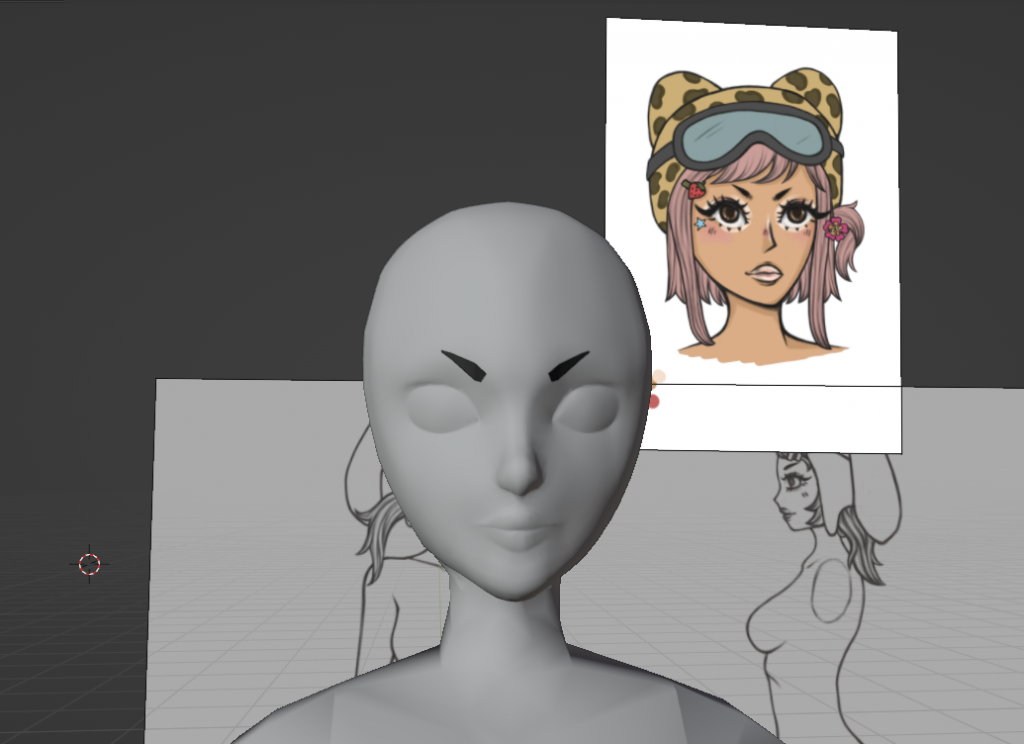
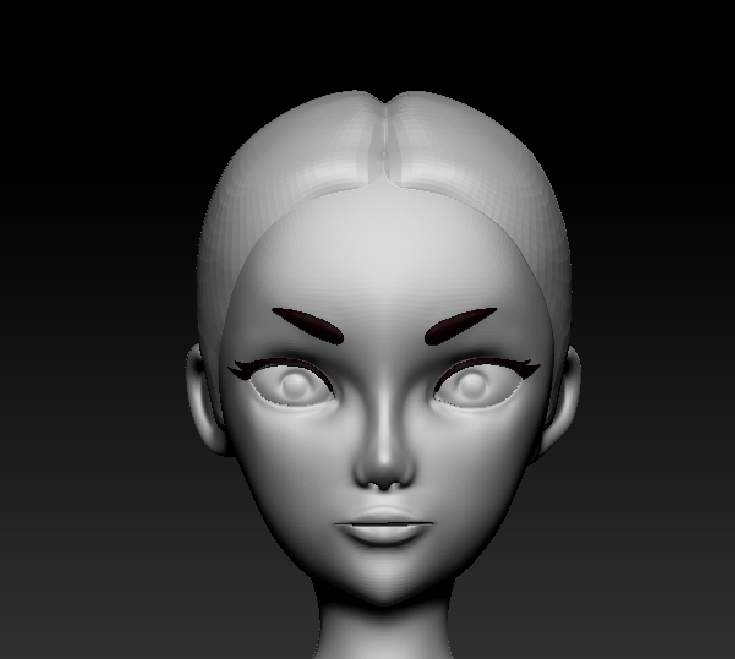
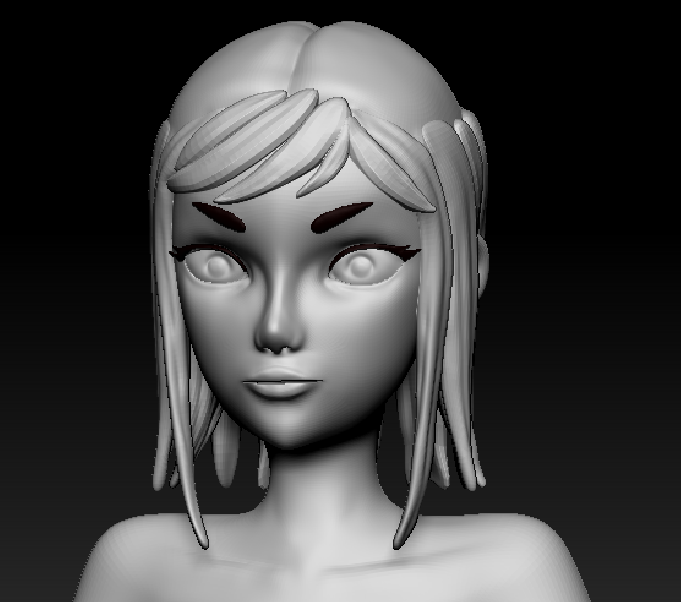
I started off with sculpting the face, this was quite a long process and I kept going back to make tweaks on it as it kept looking a bit off to me. It was also a process getting to grips with zbrush again, after only having used it in first year – but I got there after some trial and error.
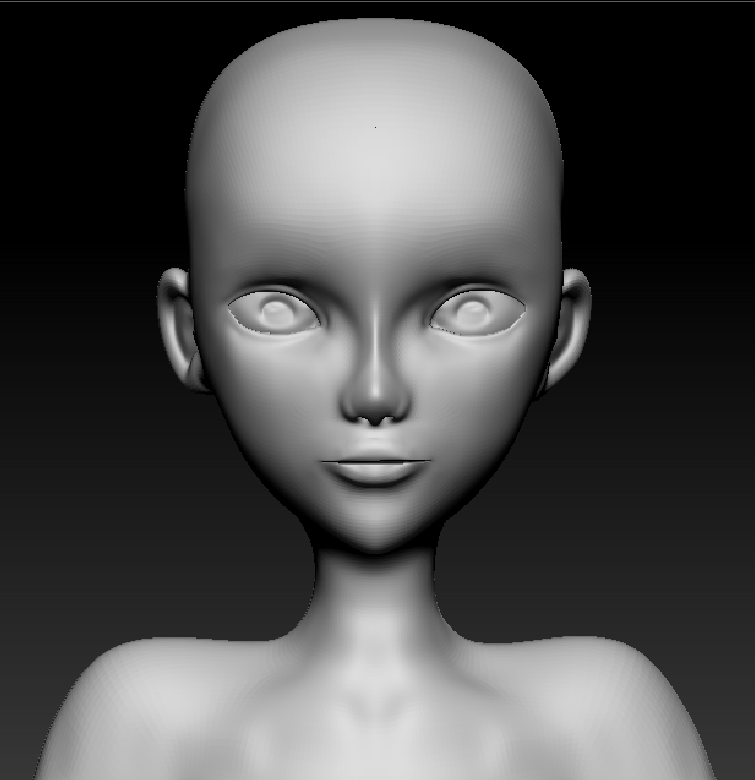
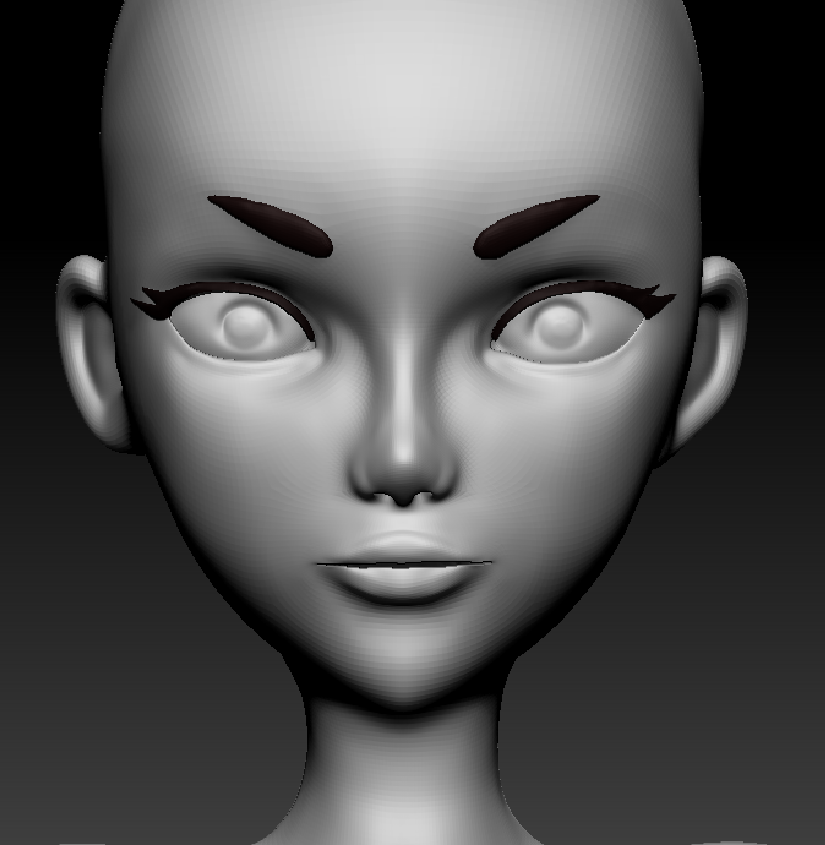
I also found some helpful and inspiring videos on YouTube of sculpting stylised characters that I was referencing throughout the process for techniques, etc. (They especially helped me to get out of an uncanny valley feeling to the face).
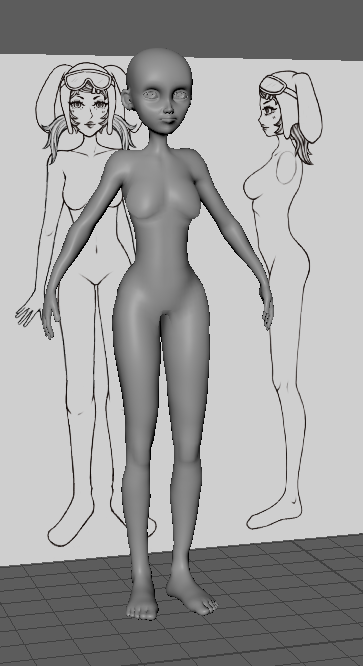
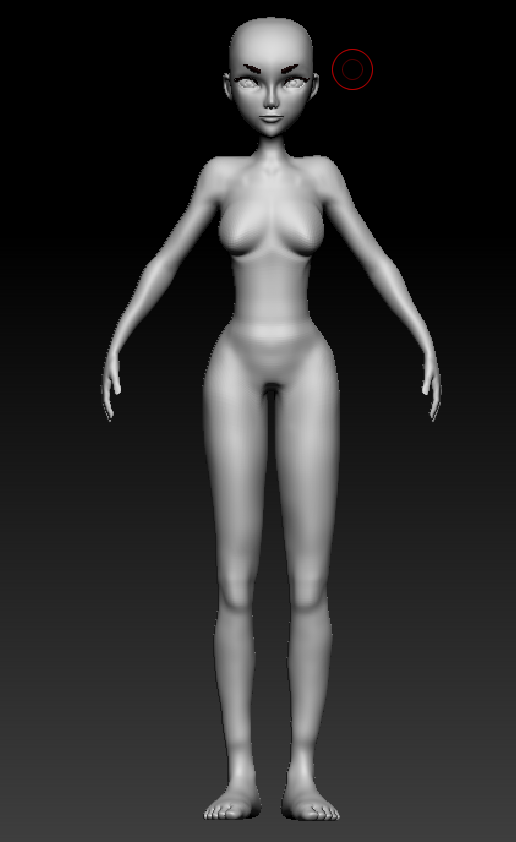
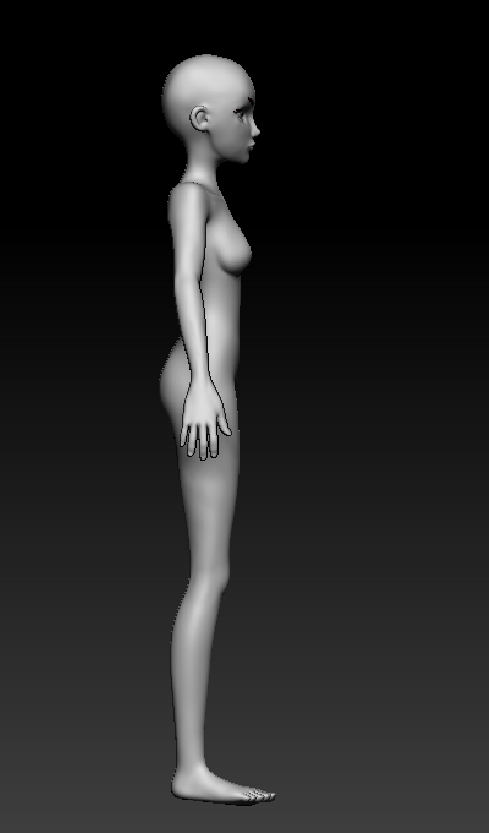
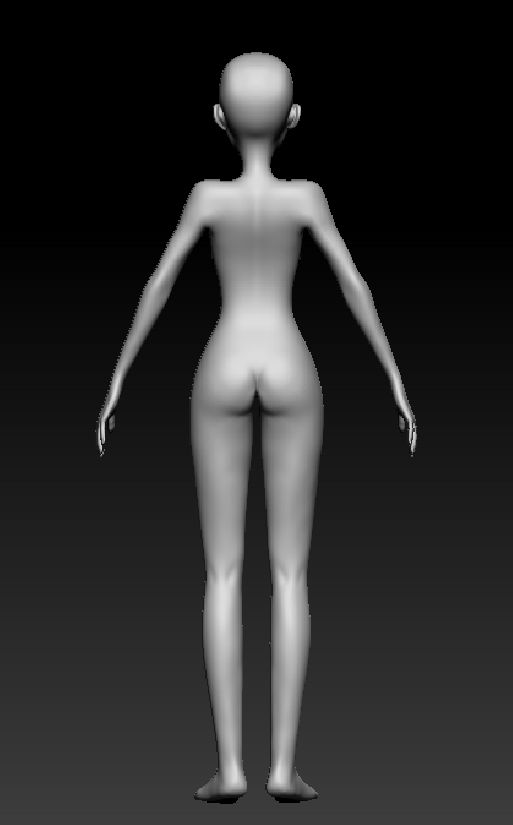
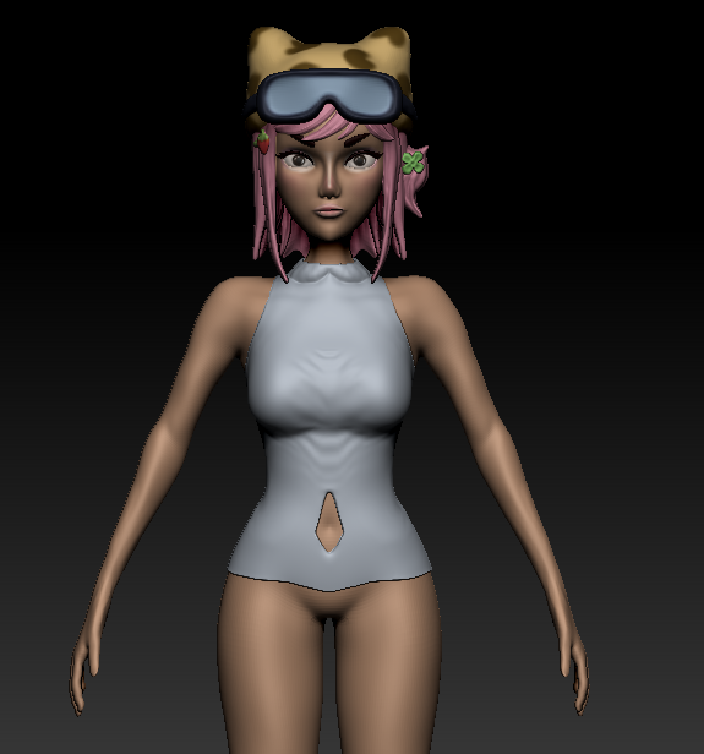
I continued onto sculpting the body of my character, using my drawings as reference. These are the outcomes of sculpting the body ↓ however I did keep going back to it and making little changes throughout the whole process.
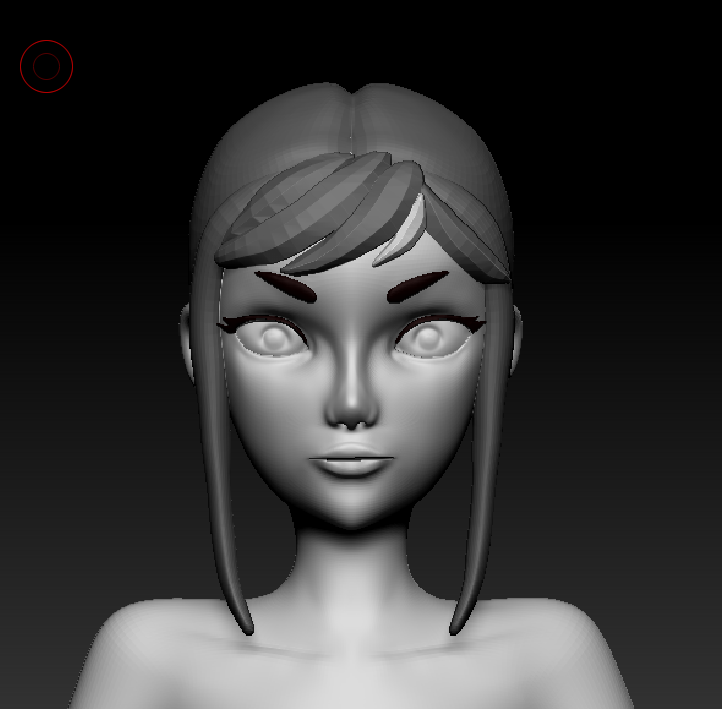
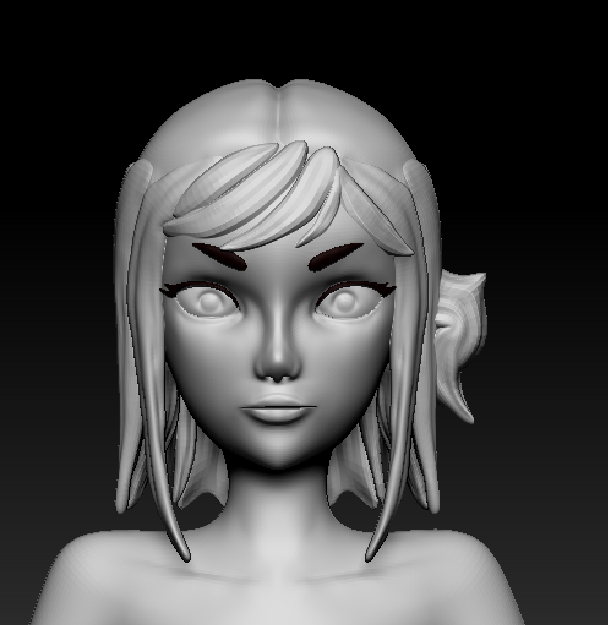
After getting the body done I started modelling and sculpting the hair. I also found some useful YouTube videos on this process in zbrush.
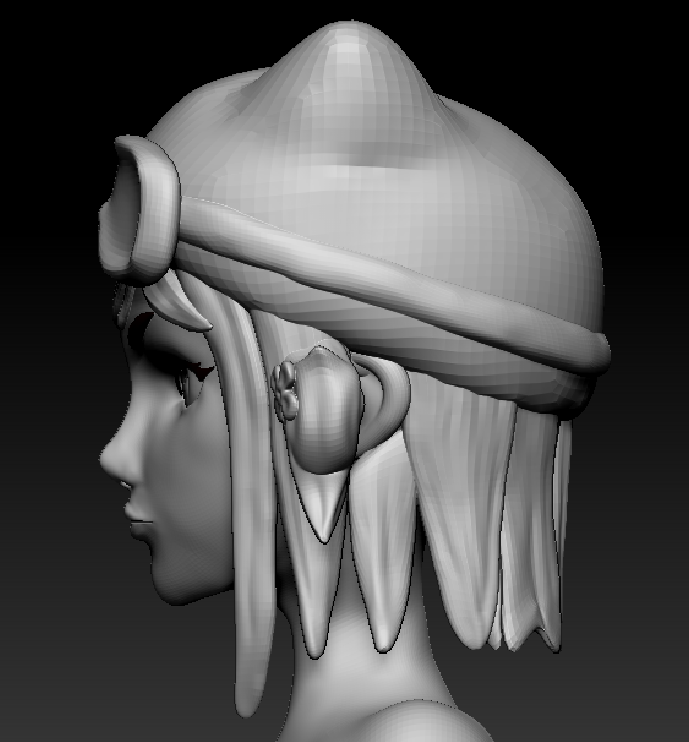
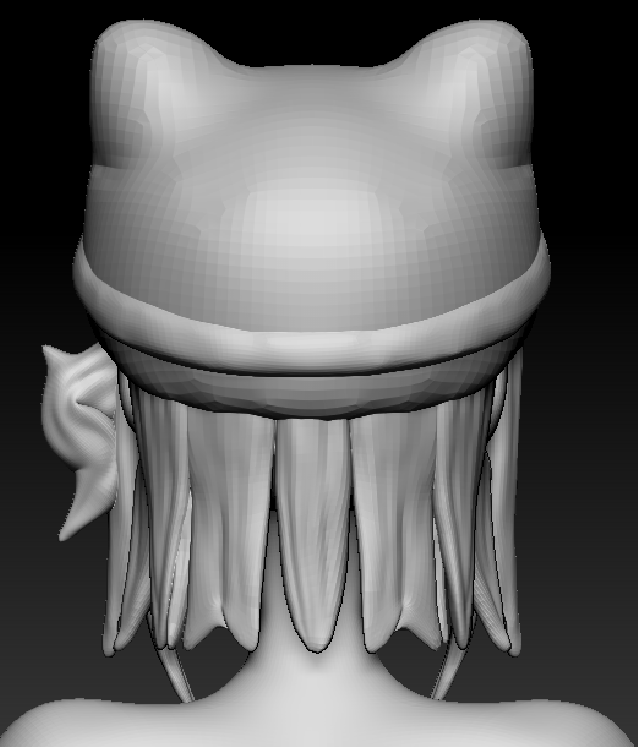
Starting the hair was kind of daunting to me, as I wanted to create individual strands of hair to better match my drawing, however it actually went quite smoothly with the help of the tutorials and just getting used to the process. I was using the curve tube brushes and it was pretty straight forward, especially since I didn’t have to make the whole head of hair because she is wearing a hat.
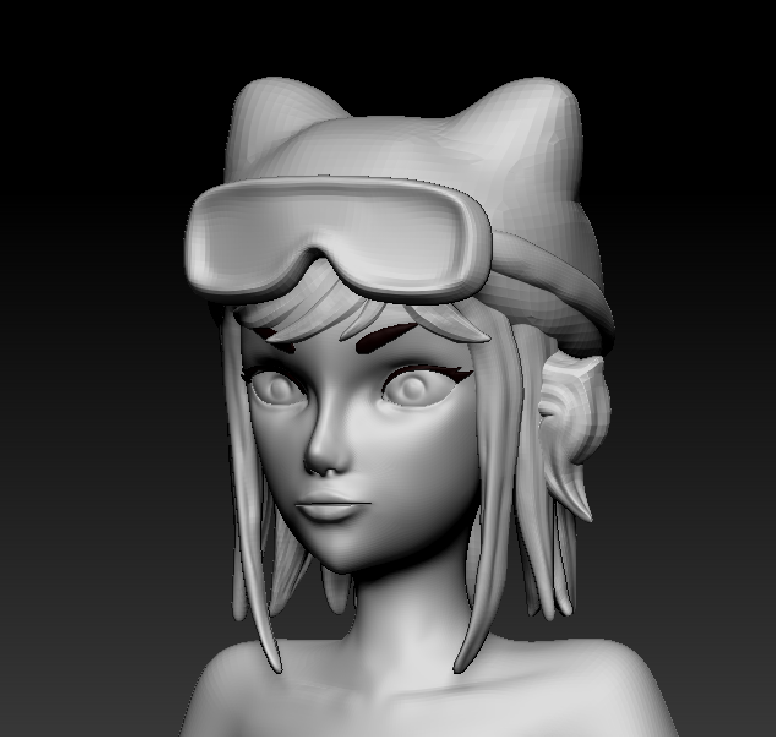
After the hair I started making the accessories – like the hat, goggles and hair accessories. I made these mostly by appending new subtools like spheres and cubes and sculpting them accordingly.
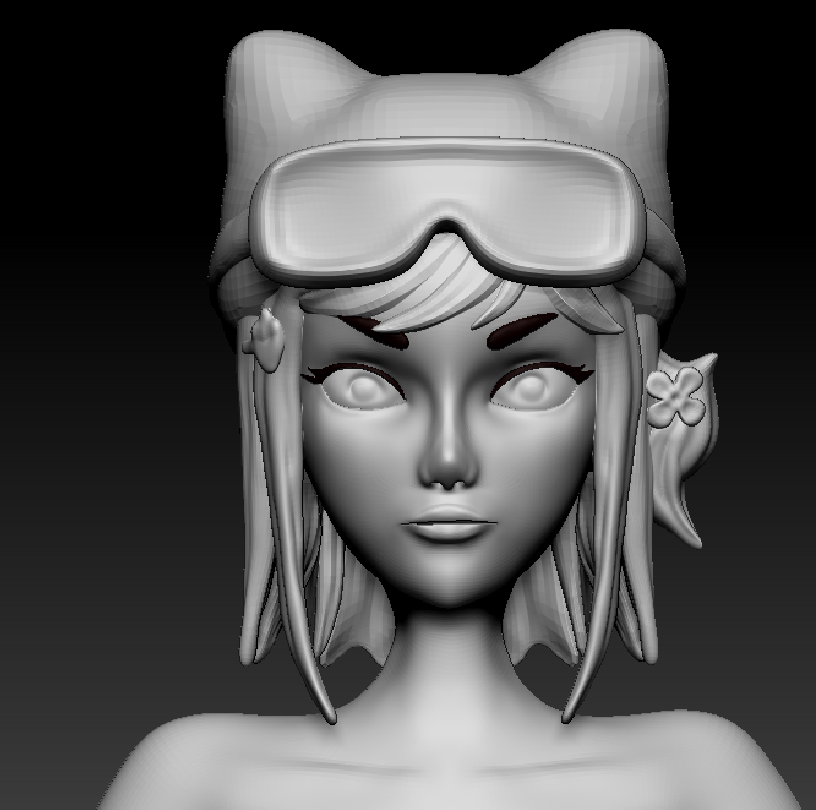
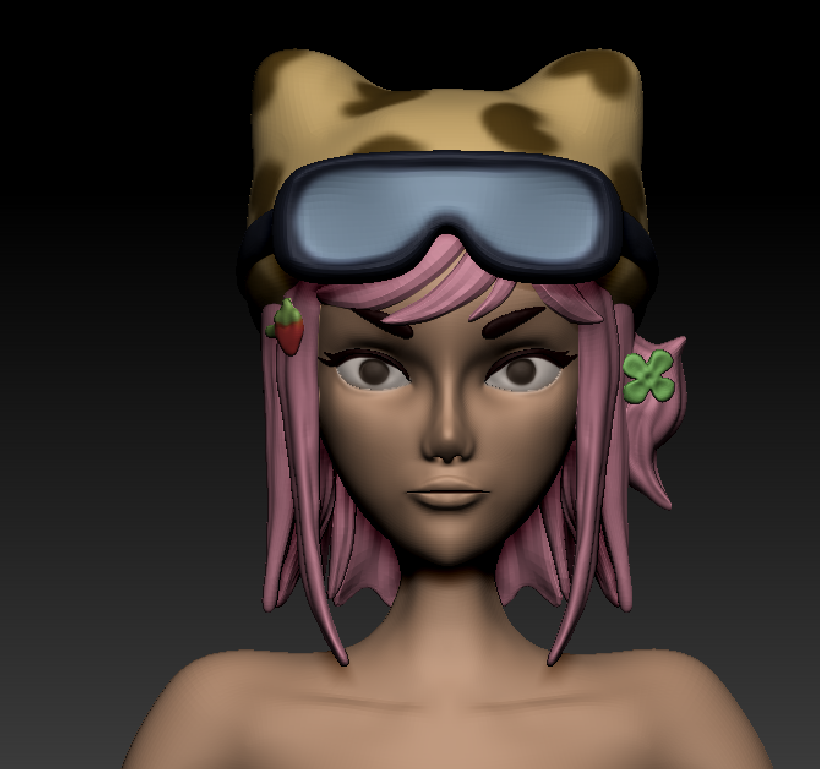
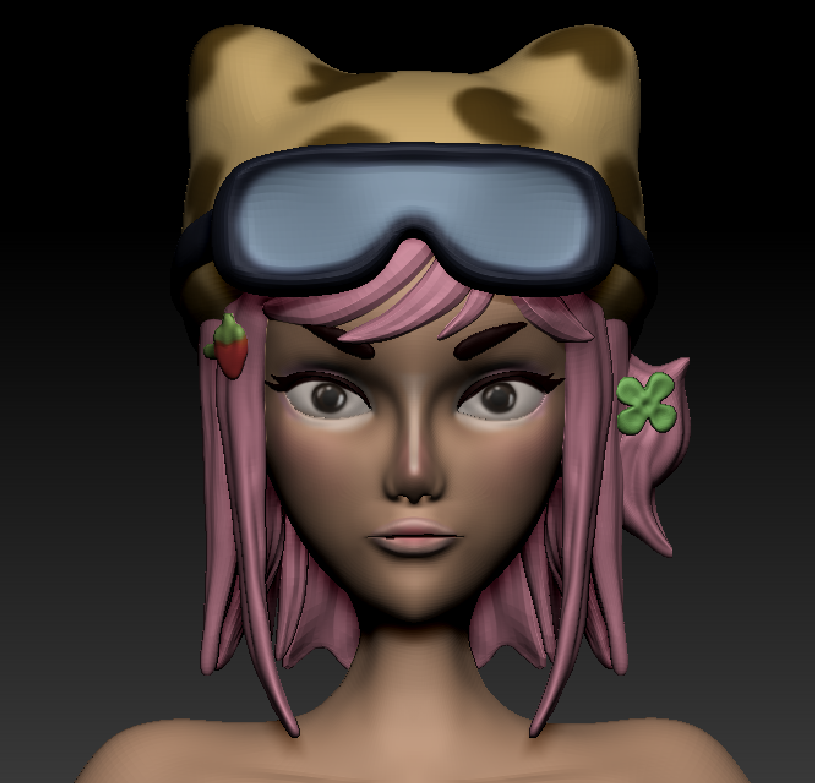
When I finished the whole head area I decided to add some colour before going onto the clothes. I just used the fill tool and poly paint within zbrush to add colour to my character. After the flat colour was added, I used poly paint for the parts that had extra colour and to paint on the eyes and makeup.
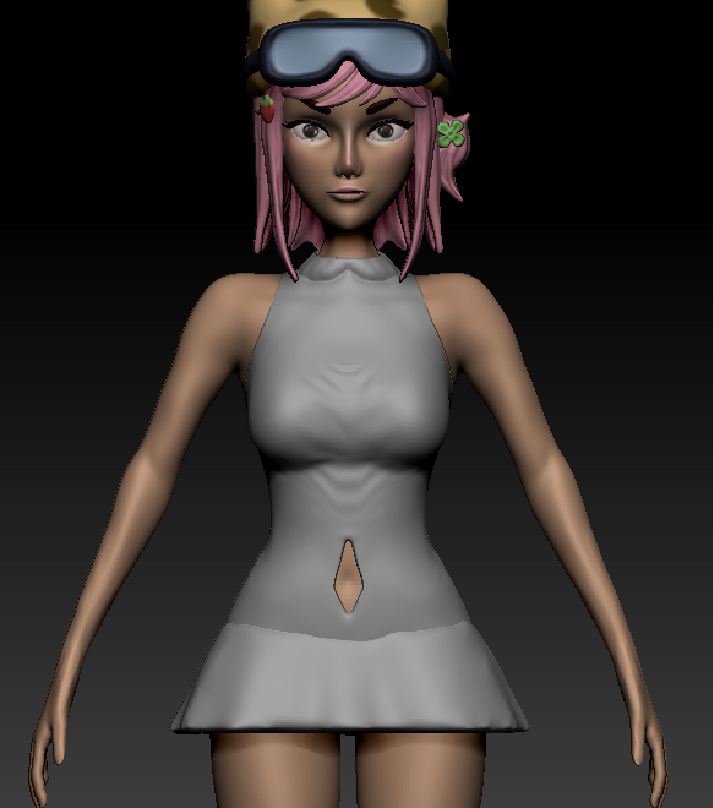
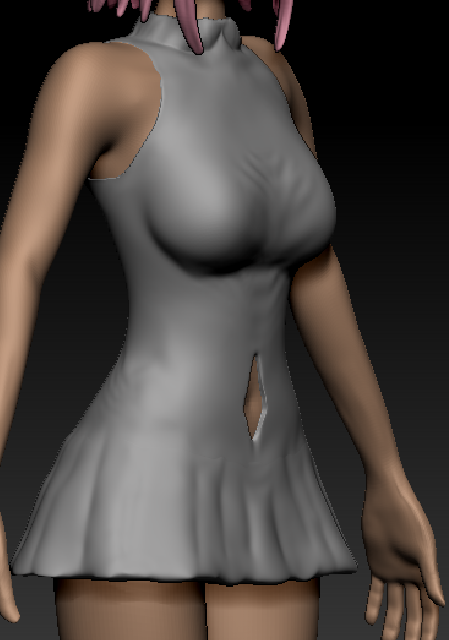
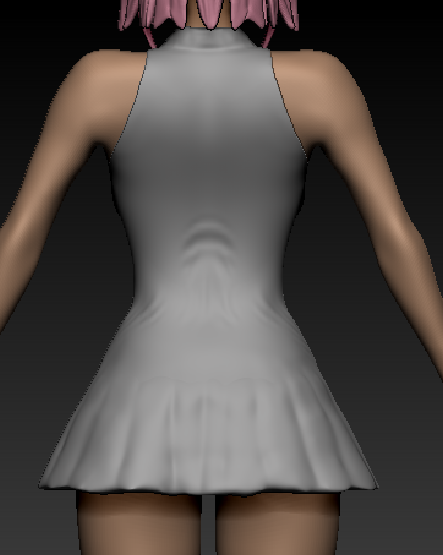
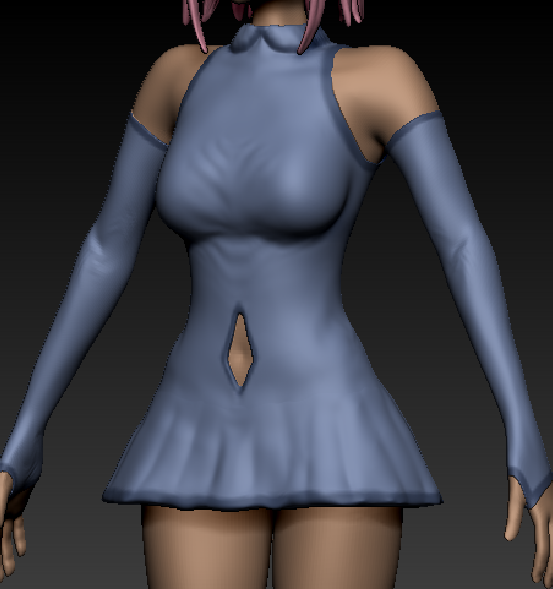
For the clothes, I followed my reference closely and used masks and extract to extrude the clothes out from the body. After I had done the top of the dress though I was quite lost regarding the skirt, so I found a YouTube tutorial and followed that which worked really well for me. I connected the edges of the top to a plane which created a skirt shape. I also used the many cloth tools in zbrush to add detail to the clothes and make them look more like actual fabric.
I added the sleeves and started colouring the clothes.

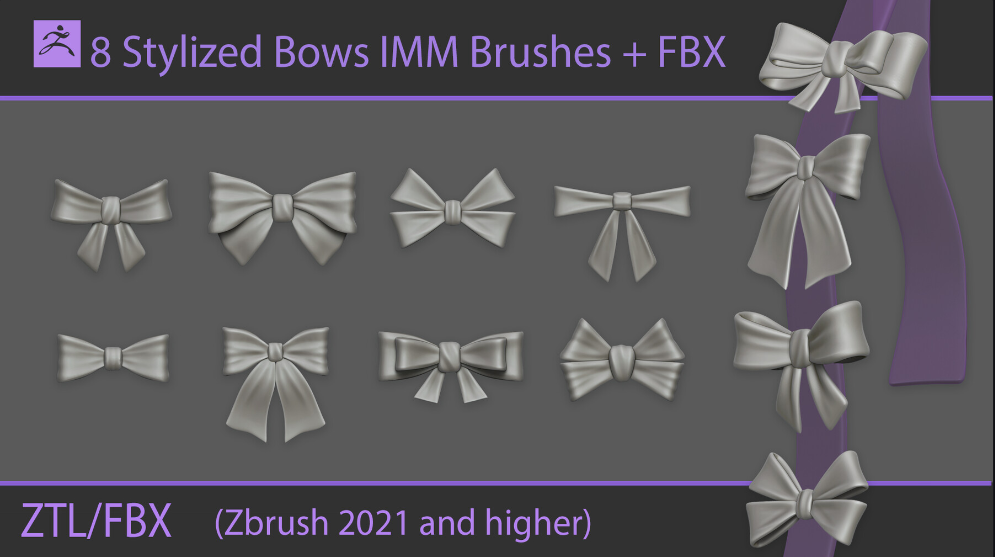
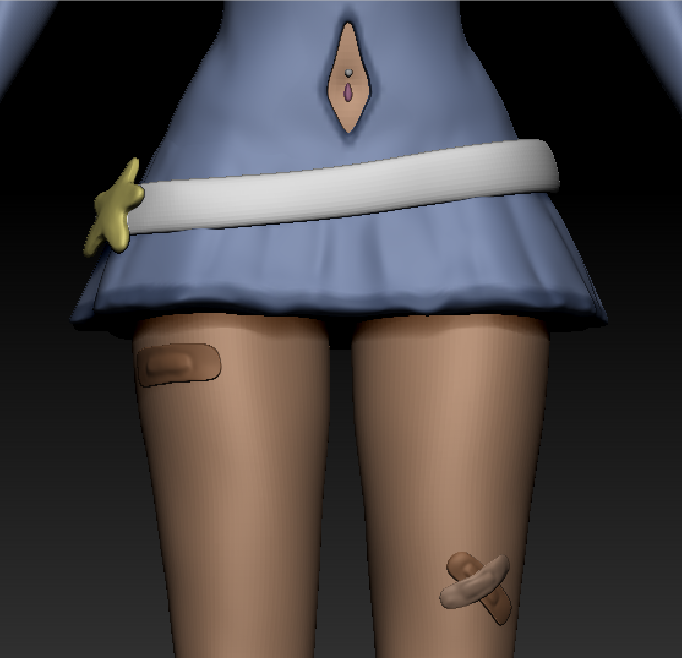
After this I started to add the other parts of the outfit, like the bow and belt – adding colour as I went. I decided to get a pre existing asset for the bow to save a bit of time and I wanted it to look quite detailed. I found a bow brush pack for zbrush on Artstation marketplace – I thought it would be worth getting it and also being able to use it for other projects, as I really like adding bows to my characters. I used one of the strap brushes on zbrush and wrapped it around for the belt.
https://www.artstation.com/marketplace/p/9VeM6/stylized-bows-imm-brushes

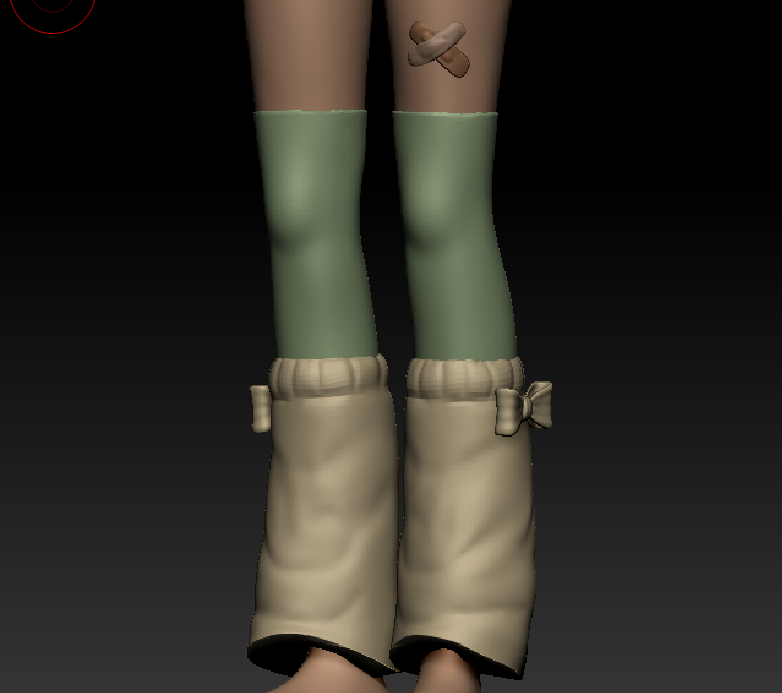
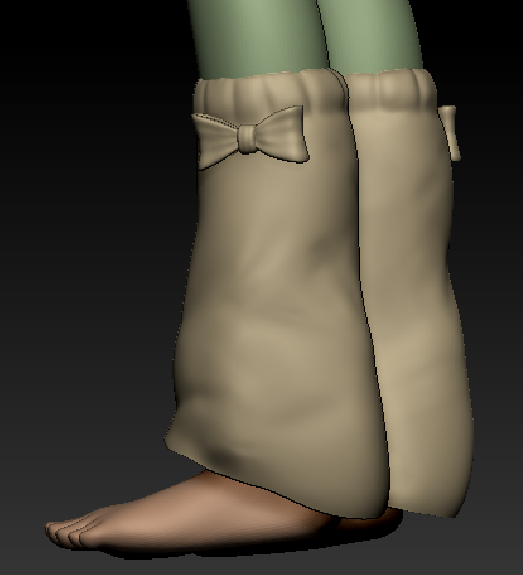
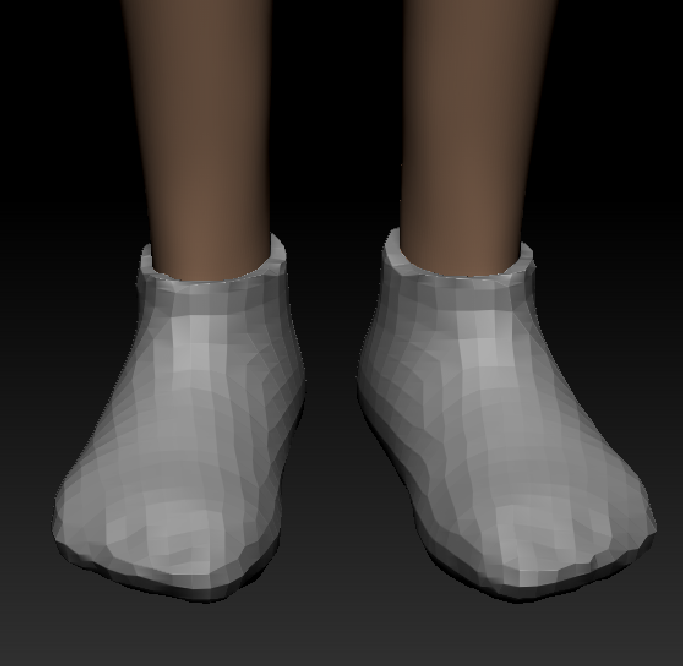
Then I used the same extract process to create the socks and leg warmers, also using the bow brush for the bows on the leg warmers.
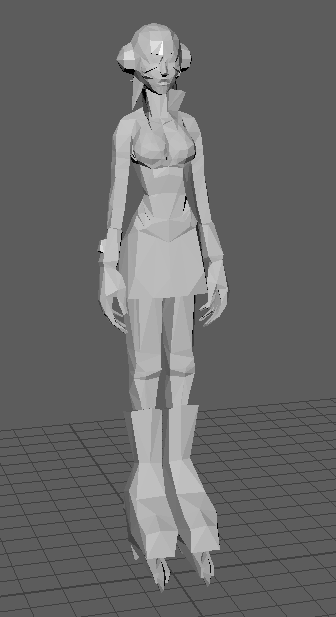
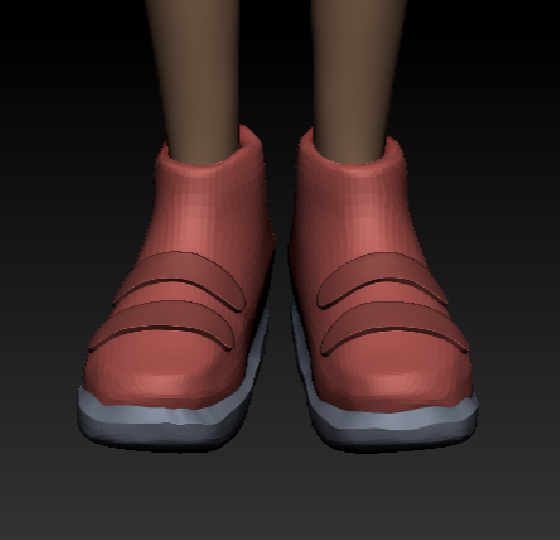
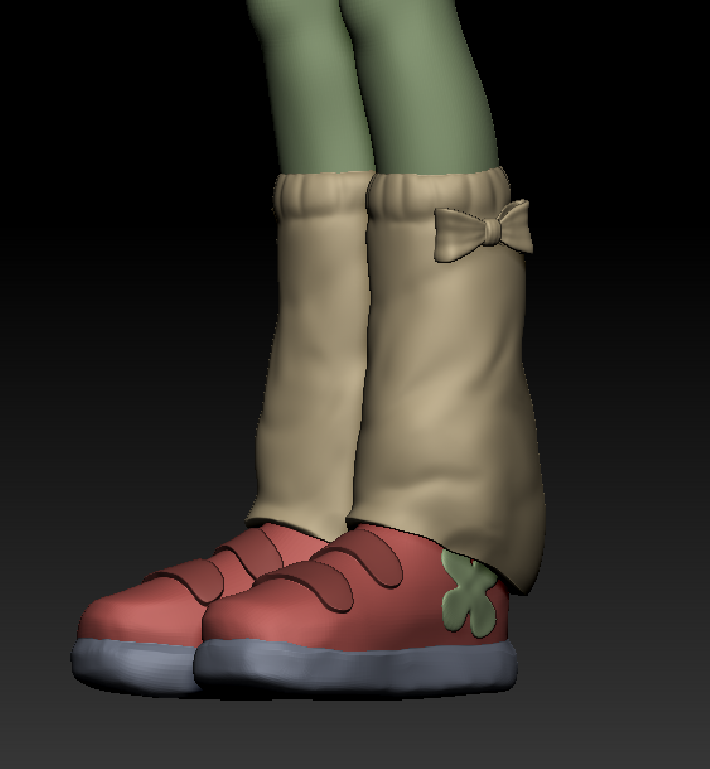
Finally I started creating the shoes, this was probably the hardest part of the model for me (and the part I’m least happy with). I also used the extract and then sculpted them down appropriately. I was able to just use the same clover subtool that I had created for the hair accessory – editing it a bit to fit onto the shoes. I didn’t create the full skate that was in my character design as I realised it would have been really time consuming for me.
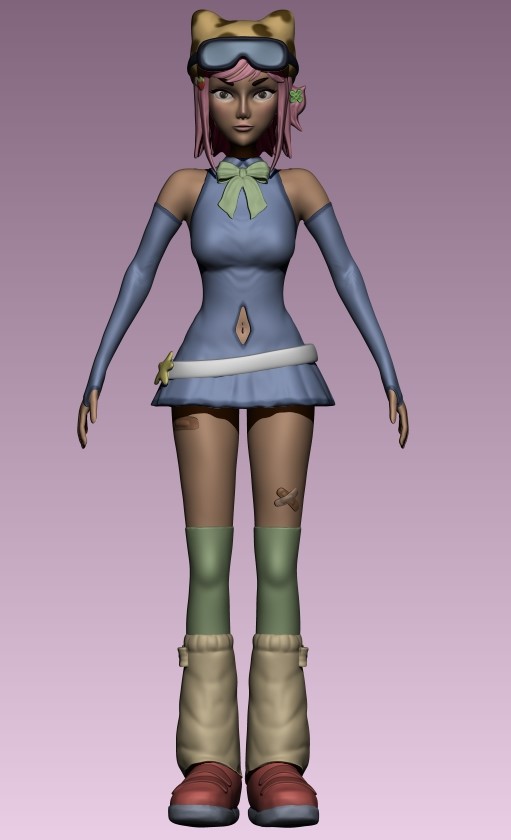
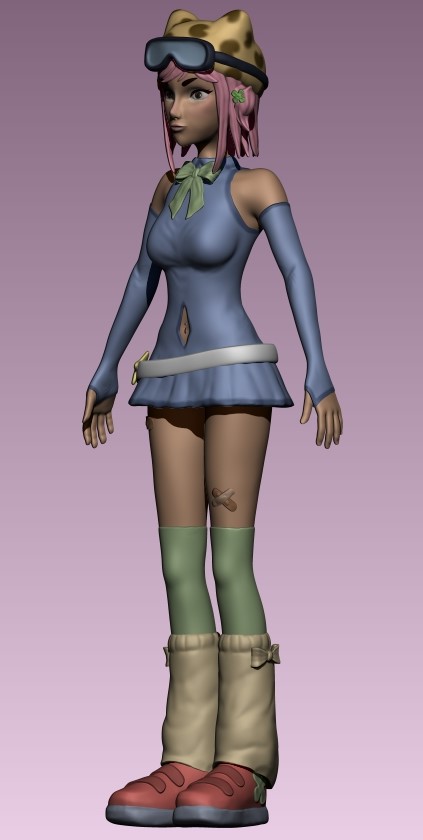
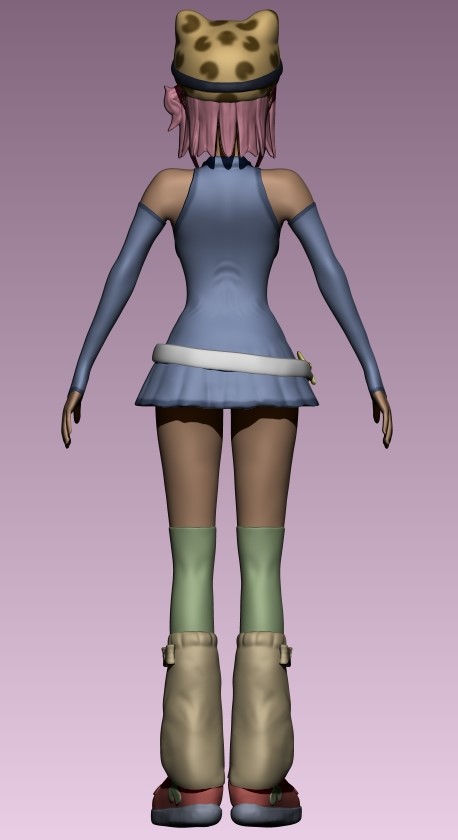
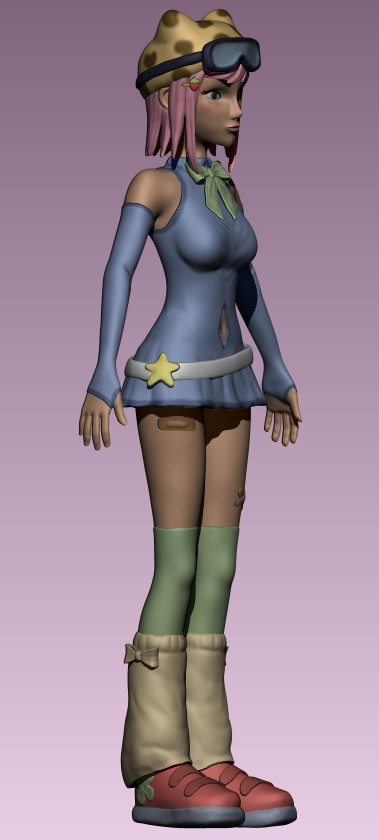
Here is the completed model (before rendering) !!!! ↓ I’m honestly really happy with how this looks, it was surprisingly easy for me to get to grips with zbrush after not having used it for a while. And after my first attempt of the model not being very successful, I’m glad that I was able to make something that looks good in 3D. This definitely also made me want to start more 3D character projects myself and develop my skills. I’m also glad that I was able to stay mostly faithful to my initial character design.
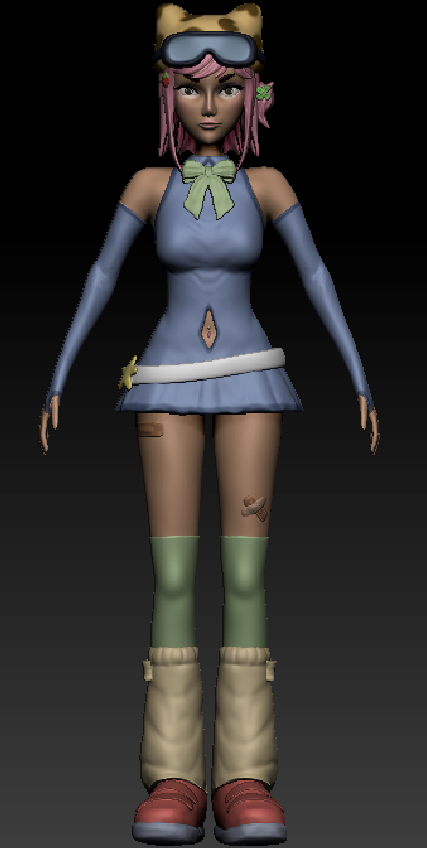
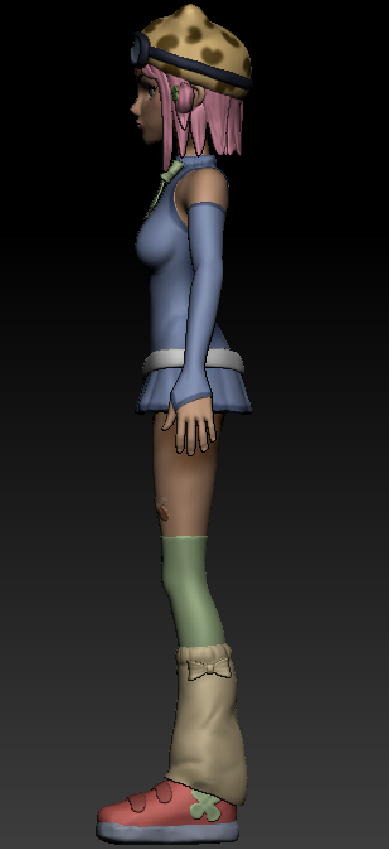
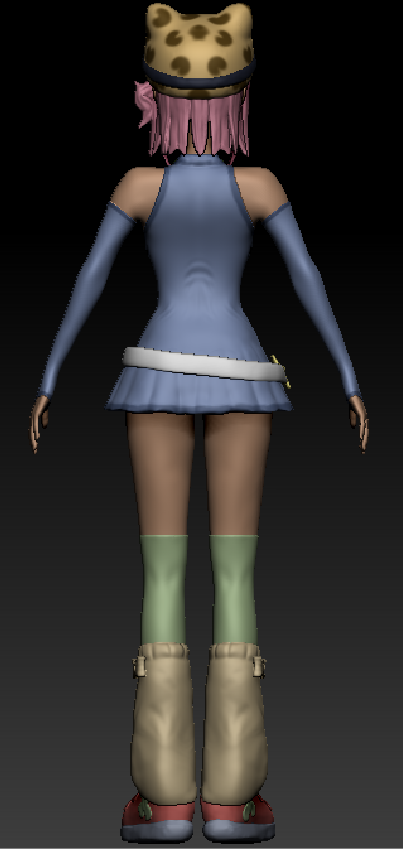
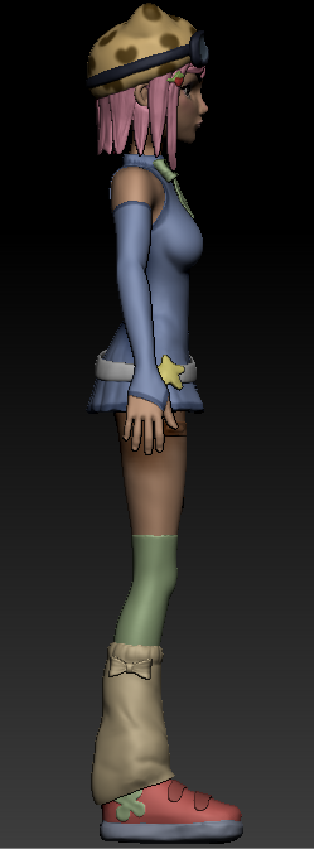
Here are the final renders! ↓ (Rendered in Zbrush)